Pre-Translation
Pre-translation helps speed up the translation process and ease the work of translators. It also allows you to save funds as part of translations can be automated. You can use and combine the following types of pre-translation:
- AI Pre-Translate - uses AI Models to pre-translate the content.
- Machine Translation (MT) Pre-translate – takes translations from supported machine translation engines (MTE) and applies them to the project content. You need to configure at least one of the translation engines to enable this feature.
- Translation Memory (TM) Pre-translate – takes translations from the TM vault uploaded to the system and applies them to project content.
To apply pre-translation manually, follow these steps:
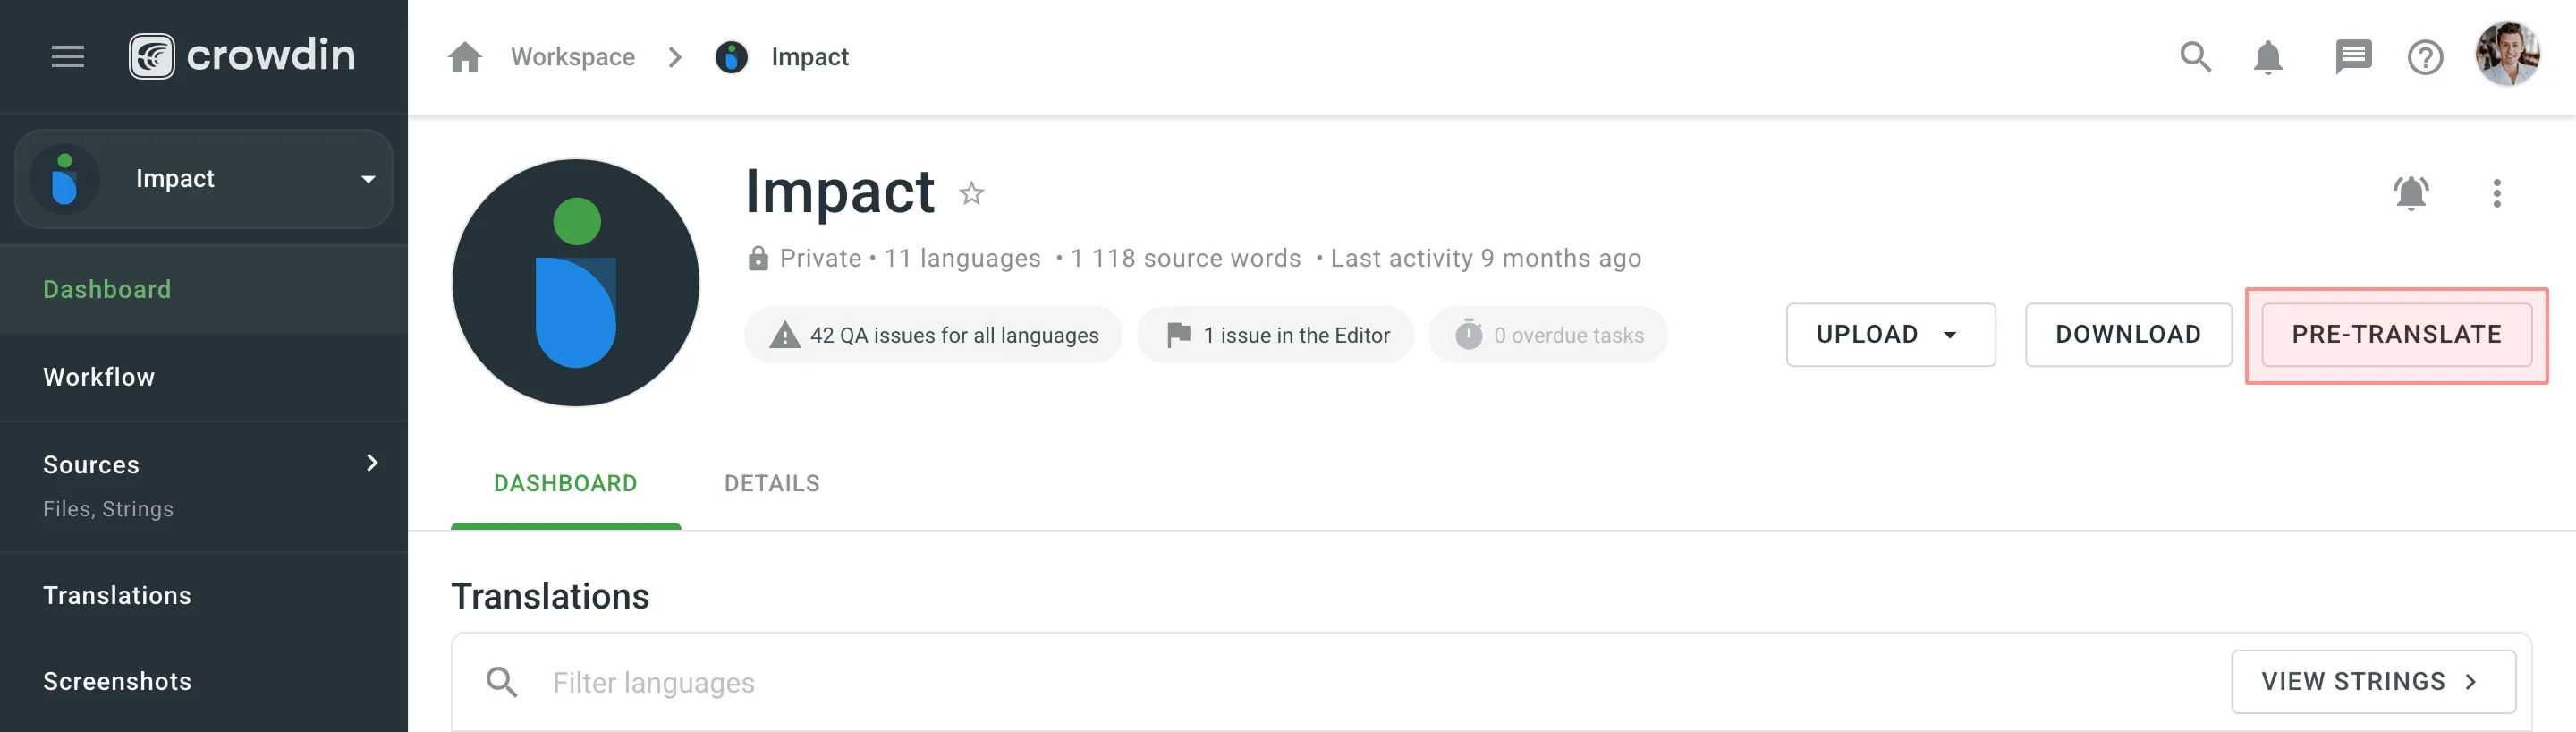
- Open your project and select Dashboard on the left sidebar.
- Click Pre-translate.
- In the pre-translate dialog, configure the following main parameters:
- Pre-translation via – select your preferred method (AI, Translation Memory, or Machine Translation).
- AI Prompts (Specific to pre-translation via AI) – select the prompt that will guide the AI model’s behavior.
- Translation engine (Specific to pre-translation via Machine Translation) – select the machine translation engine to use.
- Target languages – select the languages to pre-translate into.
- Minimum match ratio (Specific to pre-translation via Translation Memory) – set a similarity threshold between 40% and 100% or select Perfect as the minimum similarity required for TM matches.
Read more about TM Match Types.
- Files – select the files or folders you want to pre-translate.
- Expand the Advanced settings section to finetune the pre-translation process with the following options:
- Translate from – select the language to use as the source for pre-translation. By default, it’s preselected to the project’s source language, but you can choose any other project language. This provides greater flexibility and may improve translation quality by allowing you to use a more suitable existing translation (e.g., an adapted English version instead of the original Japanese) or translate directly between related languages (e.g., Spanish to Portuguese).
- Skip approved translations (Specific to pre-translation via Translation Memory) – prevents overwriting strings that already have approved translations.
- Apply for untranslated strings only – when selected, pre-translation will only be applied to strings that don’t have any translations.
- Allow duplicate translations – adds translations even if they duplicate existing ones. Useful when comparing AI prompts or MT engines in the Pre-translation Accuracy report, as it ensures that all translations are registered as new and included in accuracy calculations.
- Approve added translations (Specific to pre-translation via Translation Memory) – allows you to auto-approve translations added through pre-translation. Options include:
- With perfect match – approve only those with a 101% match.
- With perfect match (approved previously) – approve perfect matches only if they were already approved before.
- All (skip auto-substituted translations) – approve everything except translations improved by auto-substitution.
- All – approve all added translations.
- Filter by labels / Exclude labels – include or exclude specific strings based on their assigned labels.
Read more about Labels.
- Click Pre-translate.
Pre-translating Files and Folders via Context Menu
Section titled “Pre-translating Files and Folders via Context Menu”In addition to running the pre-translation from the project’s Dashboard, you can quickly pre-translate selected files or folders directly from the language page or Sources > Files using the context menu.
To pre-translate a single file or folder from the language page, follow these steps:
- Open your project and select the target language.
- Click (or right-click) on the needed file or folder and select Pre-translate.
- In the pre-translate dialog, select the preferred method from the Pre-translation via drop-down list.
- The target language and file/folder will already be selected. Configure the rest of the parameters as described in the Manual Pre-translation section.
- Click Pre-translate.
To pre-translate one or multiple files or folders from the Sources > Files section, follow these steps:
- Open your project and go to Sources > Files.
- Click (or right-click) on the needed file or folder, or select multiple items using Ctrl , ⌘ , or Shift and then click (or right-click).
- Select Pre-translate.
- In the pre-translate dialog, select the preferred method from the Pre-translation via drop-down list.
- The files or folders you selected will already be checked. Configure the rest of the parameters as described in the Manual Pre-translation section.
- Click Pre-translate.
The Pre-translation queue allows you to trigger multiple manual pre-translations via TM, MT, or AI, each with different settings. After initiating a pre-translation, each instance enters a queue with a status of Pending.
Upon triggering a manual pre-translation, you will receive a notification indicating that the process has been added to the queue. To review all pre-translations currently in the queue, navigate to Tools > Pre-translation queue in your project. Alternatively, click View Queue in the upper-right corner of the pre-translate dialog to be redirected directly to this page.
Each entry in the Pre-translation queue table includes the following details:
- Created at: Displays the date and time when the pre-translation was initiated.
- Type: Shows the method and specific engine or prompt used (e.g., AI, MT engine name).
- Priority: Indicates the execution priority of the task. When the active pre-translation finishes, the system selects the pending job with the highest priority next. If multiple jobs share the same priority level, they are executed in the order they were created.
- Status: Pending, In progress, Completed, Failed, or Canceled. If a job fails, the system will automatically proceed to the next pending job in the queue without blocking it.
- Started at: The date and time the process began.
- Finished at: The date and time the process was completed.
You can use the Filters button to sort the queue by specific statuses, priorities, or types.
You can also manage pending jobs individually or in bulk. Select the checkboxes next to the relevant pending entries to change their priority or cancel them simultaneously using the buttons in the top toolbar.
For completed pre-translations, you can view a report detailing the results, including target languages, a list of processed files, the number of translations added, and the number of translations skipped with a breakdown by category (e.g., missing in TM, QA issue).
To repeat a pre-translation, click on the relevant entry and select Retry. This opens the pre-translation dialog with all the original settings pre-selected, allowing you to quickly launch the process again without manual reconfiguration. This is especially helpful if a pre-translation attempt fails or if you need to apply the same configuration again.
When working with projects with a workflow, you can add AI Pre-translation, MT Pre-translation, or TM Pre-translation workflow steps to your project workflow to automate the Pre-translation of your content.
Read more about Workflows.
Handling QA Issues During Pre-translation via AI
Section titled “Handling QA Issues During Pre-translation via AI”If the AI provider returns translations with QA issues during pre-translation, Crowdin Enterprise will collect the strings to which these faulty translations were applied and automatically reinitiate the pre-translation. The affected strings will be sent back to the AI provider along with details of the detected QA issues to ensure that the translations are corrected and meet quality standards.
Translation Memory Priority During Pre-translation via TM
Section titled “Translation Memory Priority During Pre-translation via TM”When using pre-translation via TM and the Share Translation Memories option is enabled, Crowdin Enterprise applies translations from translation memories based on a specific priority order. This priority ensures that translations come from the most relevant source, optimizing translation consistency and quality.
The order of priority is as follows:
- Default TM: Matches are first searched for in the project’s default TM.
- Assigned TMs: If no match is found in the default TM, the system continues searching through any TMs assigned specifically to the project.
- Shared TMs: If no match is found in the default or assigned TMs, translations are retrieved from shared TMs available to the project.
This sequence allows Crowdin Enterprise to apply translations from the most relevant TM source first, ensuring that high-quality matches are prioritized when multiple TMs are available.
My project workflow includes a Switch Source Language step (e.g., switching from Tamil to English) followed by the TM Pre-translation step. Which source language will be used for automatic and manual pre-translation?
When a Switch Source Language step is included in the workflow, the behavior of pre-translation depends on how it’s triggered.
- Manual pre-translation will always use the initial project source language (Tamil in this case).
- Workflow-based pre-translation (e.g., an automatic TM pre-translation after the source language switch) will use the switched source language (English).
This applies to TM, MT, and AI pre-translations. To use English as the source, rely on the workflow’s automatic pre-translation step after switching the source language.